Fix Missing Windows Recovery Partition: Create It Now
In the digital age, our computers are the hubs of our lives, storing precious memories, vital documents, and essential applications. When Windows encounters a critical error, the built-in Recovery Partition is your PC's first line of defense, offering a lifeline to troubleshoot issues, restore your system, or even reset it to a pristine state. However, many users find this crucial partition inexplicably missing, often after operations like cloning a drive to a smaller SSD or performing a complex system migration. While Windows might seemingly function without it, neglecting this integral component is akin to driving without a spare tire – you'll only realize its value when it's too late.
Just as a healthy lifestyle includes a balanced diet, your PC's long-term health regimen – its "Wiederherstellungsdiät" (recovery diet) – demands a robust recovery strategy. Ensuring your system has a functional recovery environment is a cornerstone of this digital diet, making sure your PC can quickly bounce back from setbacks. This comprehensive guide will walk you through understanding why your recovery partition might be gone and, more importantly, how to recreate it, guaranteeing your Windows system always has a path to recovery.
Understanding the Windows Recovery Partition
The Windows Recovery Partition (often labeled as "Recovery Partition" or "WinRE") is a small, hidden partition on your hard drive that contains the Windows Recovery Environment (WinRE). This environment provides a suite of tools to diagnose and fix problems that prevent Windows from starting correctly. You typically access it via the Advanced Startup options, which include:
- System Restore: Revert your system files to an earlier point in time.
- Startup Repair: Fix problems that prevent Windows from loading.
- Go back to the previous version: Undo recent feature updates.
- Command Prompt: Advanced troubleshooting using command-line tools.
- Reset this PC: Reinstall Windows, keeping or removing your personal files.
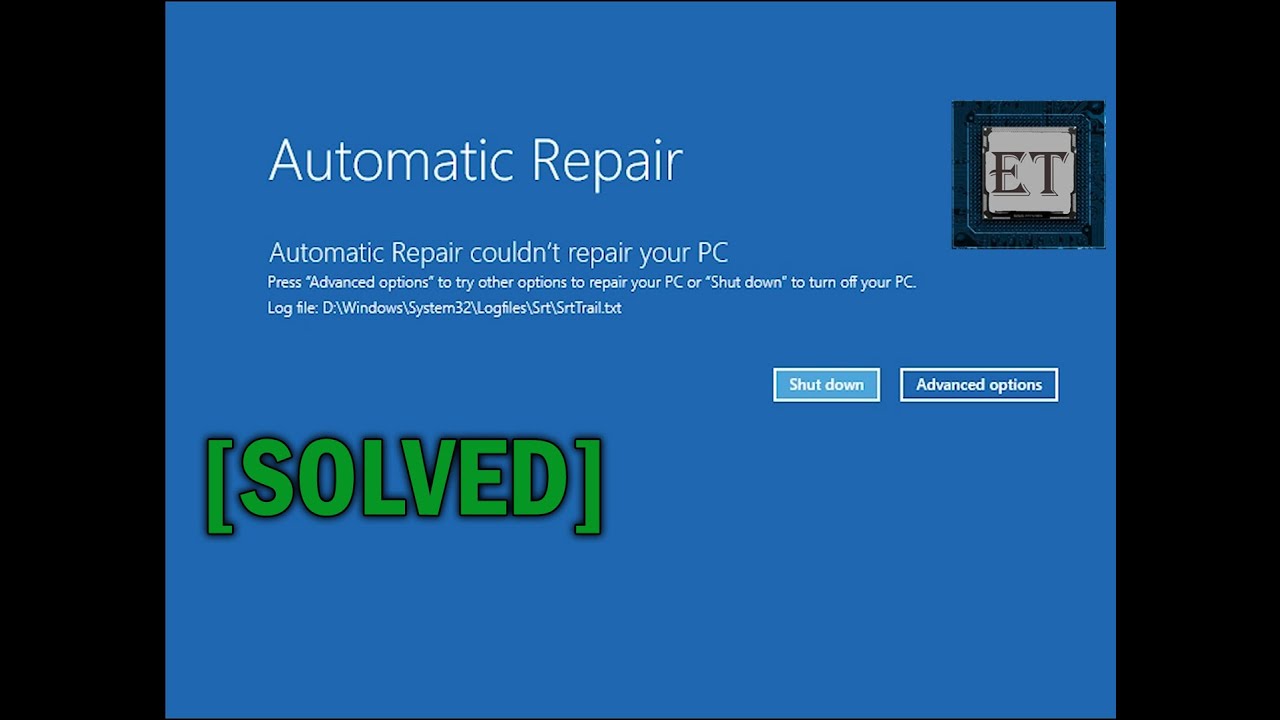
Without this partition, accessing these critical tools becomes much harder, often requiring a Windows installation media to boot from, which isn't always convenient. A quick glance at your Disk Management console (right-click Start, select "Disk Management") will show you all your drive partitions. A healthy setup typically includes an EFI System Partition, your C: drive, and a Recovery Partition, usually located at the end of the drive.
If you try to access the advanced startup options via Settings > Recovery > Advanced startup > Restart now and find only limited options under "Troubleshoot" (e.g., only "Startup Repair" and "Go back to the previous version"), it's a strong indicator that your dedicated Recovery Partition or its core component is missing or disabled.
The Heart of Recovery: WinRe.wim and ReagentC
At the core of the Windows Recovery Environment is a crucial file named WinRe.wim. This Windows Image file contains all the necessary components for WinRE. When your recovery partition is present and active, WinRe.wim is typically found at c:\windows\system32\Recovery\WinRe.wim. However, it's not simply the file's presence but its active registration that matters.
Windows uses a command-line utility called ReagentC (Recovery Agent Configuration) to manage the recovery environment. Here are its key commands:
reagentc /enable: This command activates the Windows Recovery Environment. If WinRe.wim is found in its expected location and an appropriate recovery partition exists (or can be created by the system), this command will configure Windows to use it. It essentially "fills" the recovery partition with the WinRe.wim content.reagentc /disable: Conversely, this command disables the recovery environment and can write the content of the active recovery partition back into the WinRe.wim file on the system drive.
You can check the status of your recovery environment by opening an elevated Command Prompt (search for "cmd", right-click, "Run as administrator") and typing reagentc /info. If it shows "Windows RE status: Disabled" or indicates a missing recovery image, it confirms your partition or its configuration is an issue.
Sourcing a Missing WinRe.wim File
What happens if not only the partition is missing but also the WinRe.wim file itself? This is a common scenario after aggressive drive cloning or system cleanups. Fortunately, the solution lies with your original Windows Setup Media. The WinRe.wim file is part of the Windows installation package.
You'll find the WinRe.wim file tucked away within the larger install.wim or install.esd file, which is located in the \sources directory of your Windows installation ISO, DVD, or USB drive. If you don't have a physical setup medium, don't worry. You can easily download an official Windows 10 or 11 ISO file directly from Microsoft's website. Simply search for "Download Windows 10/11 ISO" to find the official download pages.
Once you have the ISO file, you can:
- Mount the ISO: In Windows, simply double-click the ISO file, and it will mount as a virtual DVD drive.
- Navigate to the sources folder: Open the mounted drive and go to the
\sourcesfolder. Here you will find eitherinstall.wimorinstall.esd.
The exact path within these large image files is typically \sources\install.wim\1\Windows\System32\Recovery\ or \sources\install.esd\1\Windows\System32\Recovery\. To extract the WinRe.wim file, you'll need the power of the Deployment Image Servicing and Management (DISM) tool.
Extracting WinRe.wim and Creating the Partition with DISM
Extracting WinRe.wim from install.wim or install.esd requires a few command-line steps using DISM. This powerful tool is essential for managing Windows images.
Step 1: Prepare a Temporary Directory
First, create a temporary folder where you'll work with the image files. Open an elevated Command Prompt.
mkdir c:\tempStep 2: Handle install.esd (if applicable)
If your setup media contains an install.esd file instead of install.wim, you first need to convert or export it to a .wim format. ESD files are more compressed and cannot be directly mounted. Replace F:\ with the drive letter of your mounted ISO.
dism /Export-Image /SourceImageFile:"F:\sources\install.esd" /SourceIndex:1 /DestinationImageFile:"c:\temp\install.wim" /Compress:none /checkintegrityThe /Compress:none parameter is crucial here. Without it, the resulting install.wim might be in an incompatible format, leading to an "Error: 11 - An attempt was made to load a program with an incorrect format" when trying to mount it later.
Step 3: Mount the install.wim file
Now that you have an install.wim (either original or exported), you can mount it to access its contents. Create another temporary directory for the mount point:
mkdir c:\temp\win
dism /mount-wim /wimfile:"c:\temp\install.wim" /index:1 /mountdir:"c:\temp\win" /readonly
This command mounts the first image (/index:1) from install.wim to c:\temp\win. The /readonly flag is a good practice to prevent accidental changes.
Step 4: Copy WinRe.wim
Once successfully mounted, navigate to the recovery folder within the mounted image and copy WinRe.wim to a convenient location, such as c:\windows\system32\Recovery\, or a new temporary spot you've created.
copy c:\temp\win\Windows\System32\Recovery\WinRe.wim c:\windows\system32\Recovery\If a Recovery folder doesn't exist under c:\windows\system32\, create it first: mkdir c:\windows\system32\Recovery.
Step 5: Unmount the Image
After copying the file, unmount the install.wim image:
dism /unmount-wim /mountdir:"c:\temp\win" /discardThe /discard option ensures no changes are saved to the original install.wim file.
Step 6: Create the Recovery Partition (if it doesn't exist)
If your recovery partition is entirely gone from Disk Management, you'll need to create it manually. This typically involves shrinking your main C: drive to free up space. This is a critical step in your Windows recovery partition guide.
- Shrink C: Drive: Open Disk Management, right-click on your C: drive, and select "Shrink Volume...". Enter a size for the new recovery partition (e.g., 500-1000 MB, Windows 10/11 typically uses 500-600MB for a fresh install). This will create "Unallocated space".
- Create New Simple Volume (Diskpart): Use an elevated Command Prompt and enter
diskpart.list disk(Identify your disk, usually Disk 0)select disk 0(Replace 0 with your disk number)list partitioncreate partition primary size=750(Choose a size like 750MB)format quick fs=ntfs label="Windows RE tools"set id="de94bba4-06d9-414f-a42e-da3c1f251d42"(This GUID identifies it as a recovery partition)gpt attributes=0x8000000000000001(For GPT disks, hides the partition. For MBR, skip this.)exit
Step 7: Enable the Recovery Environment
With WinRe.wim copied to the correct location and a designated recovery partition available, you can now enable WinRE:
reagentc /setreimage /path c:\windows\system32\Recovery
reagentc /enable
The /setreimage command tells Windows where to find the WinRe.wim file. After running reagentc /enable, use reagentc /info again. It should now show "Windows RE status: Enabled" and display the correct location of your recovery image.
Conclusion: A Healthy Wiederherstellungsdiät for Your PC
Restoring or creating your Windows Recovery Partition is a crucial step in maintaining the health and resilience of your PC. It’s an essential part of your system's "Wiederherstellungsdiät," ensuring that when system anomalies occur, your computer is equipped to recover quickly and efficiently without external boot media. While the process involves several command-line steps, the peace of mind gained from having a fully functional recovery environment is invaluable.
Regularly check your recovery status with reagentc /info, and consider this process a fundamental aspect of your PC maintenance routine. By taking the time to fix this missing component now, you're investing in your system's long-term stability and ensuring you're prepared for any unexpected challenges down the line.